It has been a while since I wrote on my blog, after 4 and half months I finally moved back to Ontario to my home town Smiths Falls to finish my College program (Heritage carpentry at Algonquin college, Perth)
The drive home/road trip was quite long, 3200 km trough hills, trees, flatland, fog and rain but really fun and a great adventure that I shared with my girlfriend who was so awesome to fly up from Ontario to drive home with me.
I thought I would share this story with you guys I hope you enjoy :)
We started driving on Friday, I picked up Hannah from the Saskatchewan airport at 10 am in the morning and we drove directly to Regina what as 600 km away from us. The most impressive thing in SK are probably the long trains, the huge Fields and the huge grain elevators that show up every ones in a while.
We got out of the car on the high way to take a couple of pictures of the train that stopped. I guess the train driver saw us since he honked twice what scared the living ****out of us haha.
It was Hannahs Birthday 2 days before she came down so I bought here a little present, I am not very got at rapping gifts how you can probably tell on the picture below. I thought if I cant be the best I can be at least the worst.
First night we stayed in Regina at the best western hotel. (I used the "Hotels.com" phone app on my android phone to get really good deals on hotels).
On our way to Winnipeg we had nice weather. We stopped in "Moose Jaw" to see the underground tunnels and the very old and pretty town.
As soon as we left SK and got into Manitoba the weather got really bad. rainy all the way till Winnipeg were we stayed for the night.
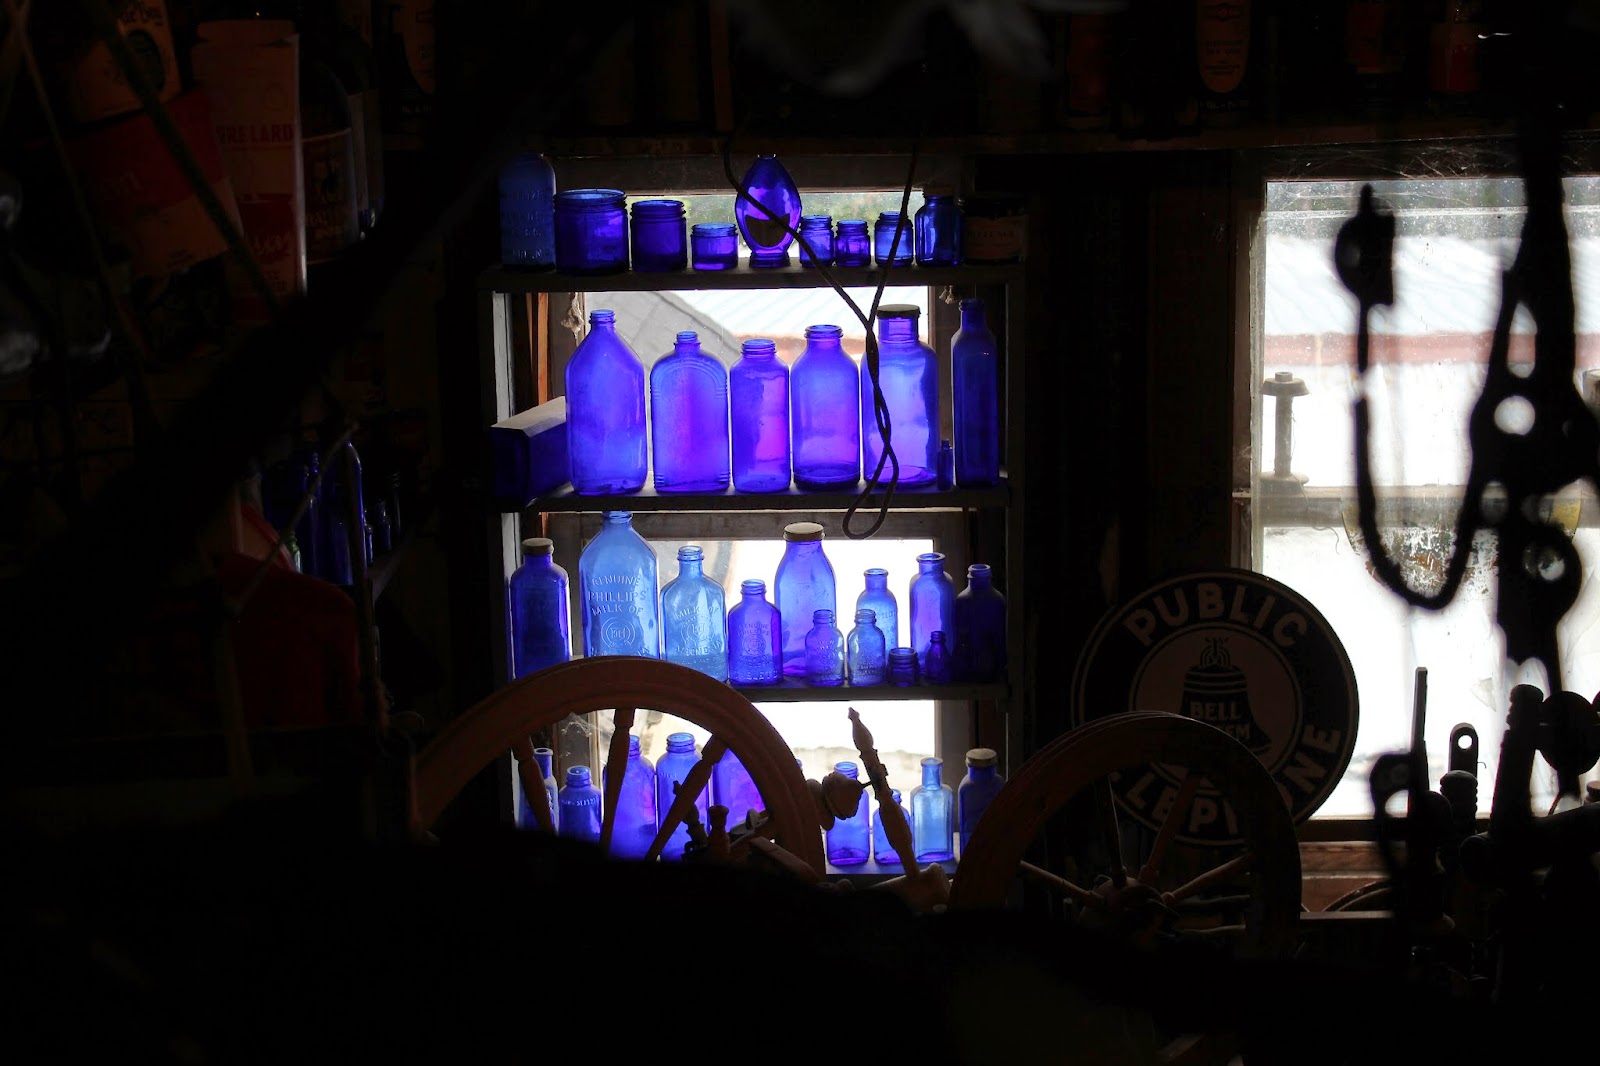
But before we arrived in Winnipeg we found a little hidden Museum called "Old Georges Museum and Hidden village". I have to admit that we first were not really sure if we should go in since it did look a bit creepy from the outside but as soon as we got in we were stunned by the amount of old antiques Old George collected over his life time.
The whole house was filled with old stuff and just when you thought you saw it all we did find more.
George was so kind and showed us around his Museum and told us his story about how he started collecting. He had millions of antique items at his museum and I bet he knew each one of them with a unique and interesting story.
In case you are interested check out his Facebook page at https://www.facebook.com/OldGeorge.ca
After we finished the tour in the Museum Gorge offered us a quick tour trough is village, we did not had a lot of time since we were planning on driving to Winnipeg but we still did it and it really payed off!!! Over his life time he build his own little outdoor village that included over 20 different building from Blacksmith, Bar, Antique shoe store... You could even stay for the night in one of his old log houses for a small amount of money.
We got the honor of taking a picture with him ;)
"Dont Smile" he said, harder than it looks!
On our way than to Winnipeg we had bad weather and rain all the way trough. We found a place to stay near the airport at the Best western.
From Winnipeg we drove to Thunder Bay Ontario.
We took the longer rout along the big lakes, even though it took longer it was worth it since some of the views you had were amazing and it is also really fun to drive! We stayed in Thunder Bay for the night and were planning on camping at the "Sleeping Giant park" for the night the next day.
The next day turned out not as nice as planned it rained all night so we decided to not go camping and just do a day trip to the park. We arrived at the "Sleeping Giant park" at 10 am in the Morning and it was so cloudy you could not see 20 ft ahead of you..
There were a couple of different trails you could take to see the Giant rocks of the park, the trail we walked took us almost 3-4 hours and when we finally got to the view point it was so cloudy we were not able to see a thing..
A bit grumpy and frustrated we left the park and than out of no where the sun came out... I dont know if it was bad luck or something else but it was surly not funny! At least we are able to say that we went to the park :)
Since we did not go camping at the Sleeping Giant park we decided to go camping near the Lake superior (Canadas largest, Coldest and deepest lake). We were lucky to get a camp side right on the beach two steeps away from the water with the most amazing few ever!
Even tough we only had a small tent, a BBQ some fire wood and some food we were more than happy!

Hannah lit the Fire and I got the little BBQ ready Potatoes, Beef, Veggie burgers and a bit to drink did it for the night!
Even Though the water was quite cold we decided to take a little swim and do our "Ice bucket challenge" In the lake.
We decided to go for a little walk and found this nice little place were we watched the sunset :)
From the Lake superior we drove to North bay were we stayed the night and from North bay we drove home to Smiths Falls were our 6 day road trip ended.
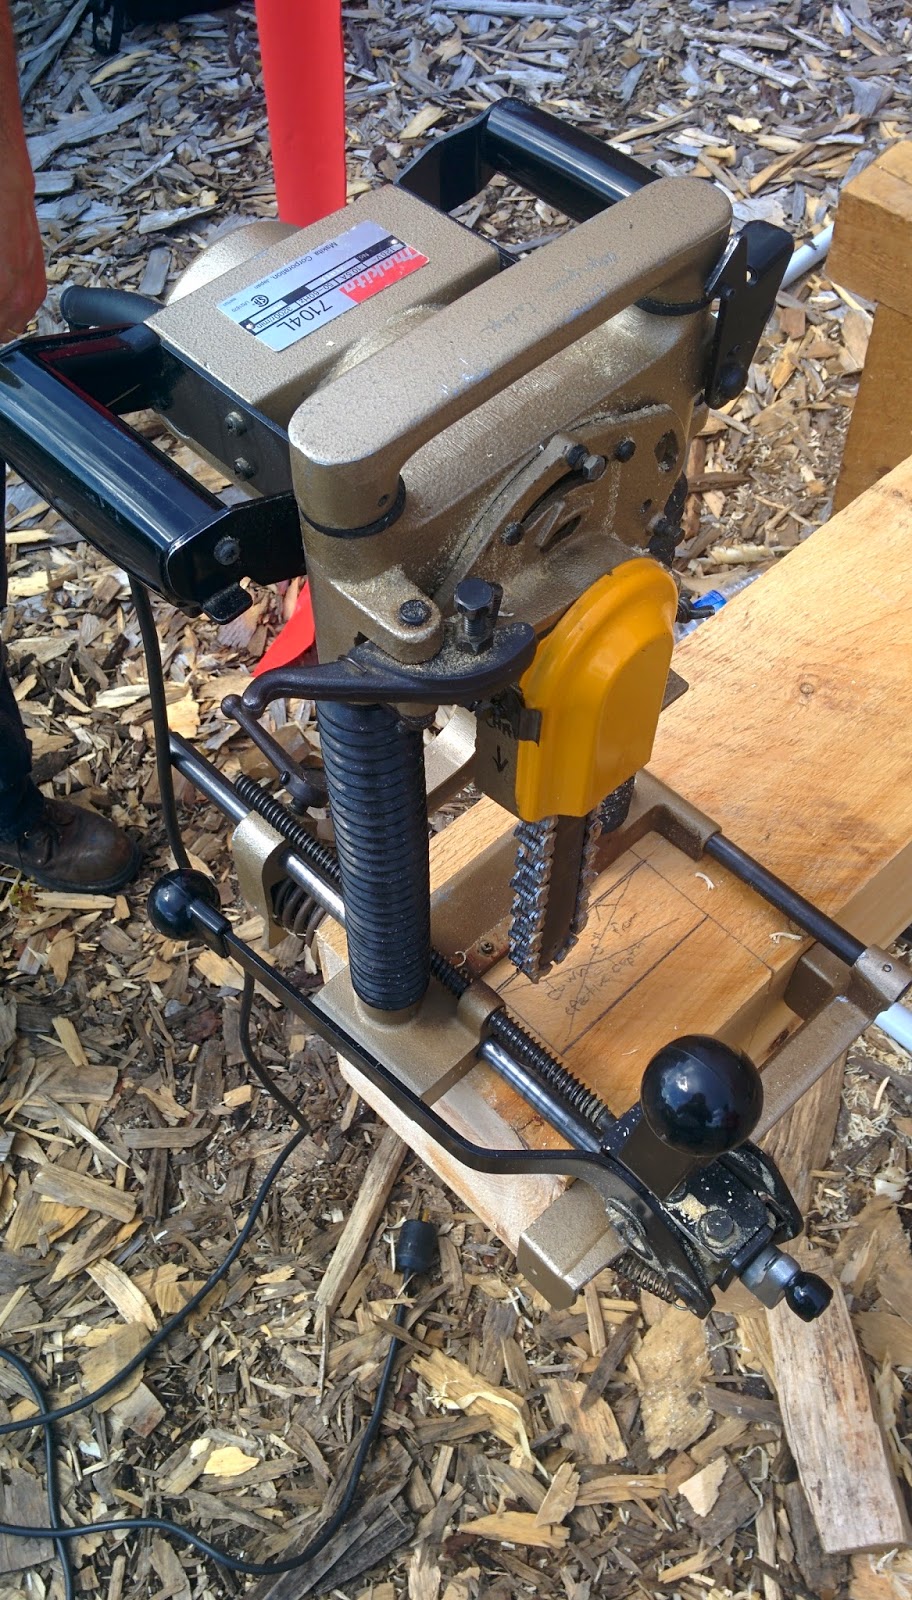
 Like I said having a sharp Chisel makes a huge difference performance and time wise! On the left picture I am cleaning up my mortise that I made with my Chain mortiser.


